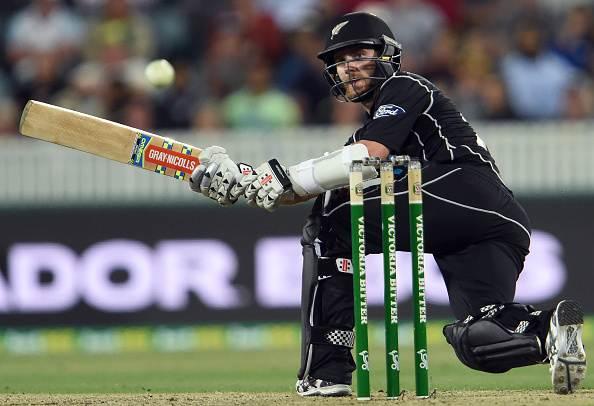
Australia v New Zealand, 2nd ODI - New Zealand Player Ratings
View : 313
4 Min Read


New Zealand went into the second ODI at Manuka Oval needing a win to retain the Chappell-Hadlee Trophy they had won earlier in the year. Having decided to bowl first, they let the Aussies post a mammoth total which was never going to be easy to chase. In the end, they never took flight as they succumbed to
Their batsmen played too slow while the required rate kept mounting. In the end, they never took flight as they succumbed to an 116-run defeat as Australia coasted to 378 after being put into bat and dismissed them for 262 in 47.2 overs. Here we look at how the New Zealanders fared in the second ODI.
Martin Guptill – 5/10:
Needing 379 to win, Kiwis expected Martin Guptill to fire. Guptill, to his credit, started from where he had left off in the previous ODI. He played some sublime shots and just when it looked like he was setting in for a long haul. But before he could cause substantial damage he was dismissed on an absolute beauty from Pat Cummins. His quickfire 45 did set the tone but Kiwis needed more from him.
Tom Latham 0.5/10:
Flat pitch and chasing a tall score, Latham could have done his side’s chances no harm if he had got to a decent start. Instead, he found the going tough and spooned a return catch to Josh Hazelwood making 4 in a painstaking 12-ball stay.
Kane Williamson 6/10:
Doubts still remain whether he was right in asking the opposition to bat first on what has perhaps been the best batting wicket in Australia over the last 2 years. When his bowlers couldn’t capitalize, Williamson must have felt the writing was on the well. He did fight with the bat. Though he started slowly he later unfurled some typical Williamson strokes on his way to 81 but he needed someone to stay with him to challenge Australia.
Jimmy Neesham 6/10:
Jimmy Neesham proved he has upped his batting standards. He batted impressively again. The blow to his arm halted the momentum he was building up and ultimately cost him his wicket. But the signs are good when it comes to his batting form as he put his head down and was willing to build a long innings. He supported Williamson well and scored 74.
Colin Munro 2/10:
With the asking rate mounting, Colin Munro had to be at his explosive best to take Kiwis anywhere close. Unfortunately, the pressure got to him as he departed after making 11. He had to blast right away but rather than landing in the stands the ball was pouched by Mitchell Marsh to end his inning prematurely.
Colin de Grandhomme 2/10:
Grandhomme came to Australia with a reputation of being a big hitter and a key wicket-taker. Aussies came hard at him and showed him in his place by smashing him for 74 runs. When he came into bat, he couldn’t get going and edged behind after scoring 12 runs from 22 balls.
Mitchell Santner 5/10:
Santner though didn’t harm his reputation as he delivered a tight spell in perfect batting conditions. He conceded just 47 runs and also provided the opening breakthrough claiming Aaron Finch’s wicket. When the pacers weren’t able to dent the opening stand the skipper turned to his slow bowler and he delivered right away.
BJ Watling 3/10:
When Watling came into bat, the match was already lost. The team management decided to trust Grandhomme and Santner more than the wicketkeeper-batsman who is an able batsman. He was tidy behind the stumps but his ODI batting has a lot of scope for improvement.
Tim Southee 4/10:
Southee was the pick of the Kiwi pacers. He got 2 big wickets when Aussies were ready to launch. When both Steve Smith and Travis Head looked very dangerous at the crease Southee sent them both packing though it didn’t quite cushion the damage, he played his part leading the pace bowling attack.
Matt Henry 1/10:
When Williamson elected to field, he surely would not have expected one of his strike bowlers to concede 91 runs. Sadly, that was what happened to Matt Henry. Mitchell Marsh took a special liking to him as he struck 3 successive sixes in the final over. Henry wasn’t penetrative as expected up front either.
Trent Boult 2/10:
Trent Boult did induce an edge from Warner quite early and also had a huge lbw shout turned down. But he lost his direction at the death conceding 80 runs. With no help on offer from the surface the swing bowler found it really tough to trouble the batsmen.
Download Our App